Along with the recent insurgence of adult coloring books, Bible Journaling is quickly gaining worldwide popularity. There are literally hundreds of pins available for Bible customization! Although my Pinterest Bible Journaling board is overflowing with dazzling water color interpretations of scripture, let’s be honest– I could never replicate them. Unfortunately, knowing this doesn’t surpress my Bible-envy in the slightest. So, in an effort to avoid having my newly acquired journaling Bible looking like an epic Pinterest fail, I decided to try a customization technique (that even the artistically deficient can pull off) using one of the most forgiving mediums I know…washi tape!
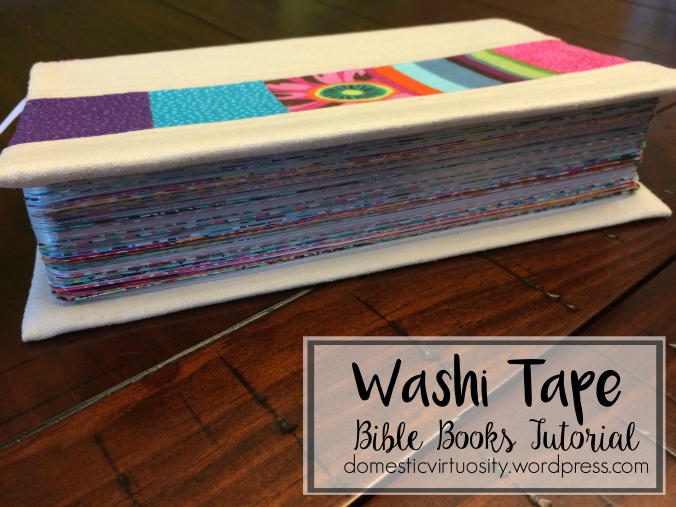
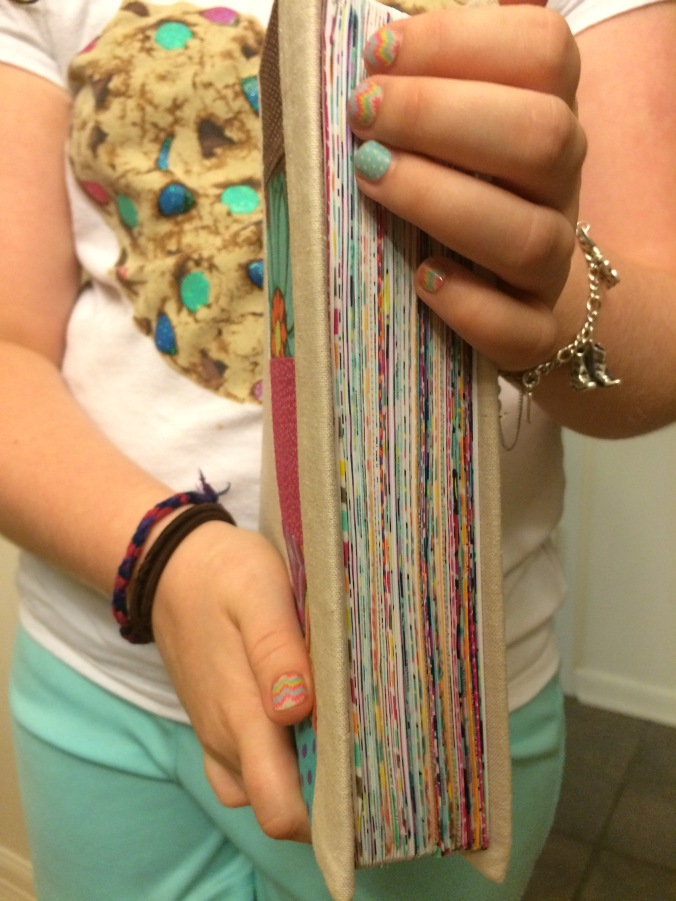
Washi taped Bible page edges are a fun alternative to traditional book tabs, adding a splash of color to your Bible while still making you rely on your memory to locate each book. (Prefer a new take on traditional Bible tabs with an adorable pop of color? Check out these beauties! ) Like the look, but a little nervous about how to go about achieving it? Check out the step-by-step tutorial (with photos) below!
Side note: Be aware that applying a double-layer of washi tape to over 60 pages of your Bible will cause the pages to expand slightly due to the extra bulk that that the tape adds.
 STEP ONE:
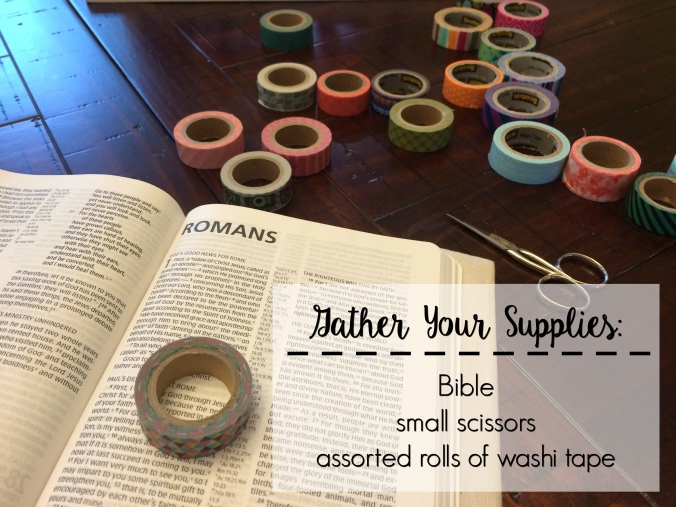
Begin by gathering your supplies. You’ll need a Bible (be sure the side margins are at least a half inch to avoid covering up the text with your tape), a small pair of scissors, and assorted rolls of washi tape (or a single roll if you prefer to only use one design).
STEP TWO:
Open your Bible to the first page of any book. (I prefer to start in Genesis and work my way through all 66 books in order, to be sure I don’t miss any).
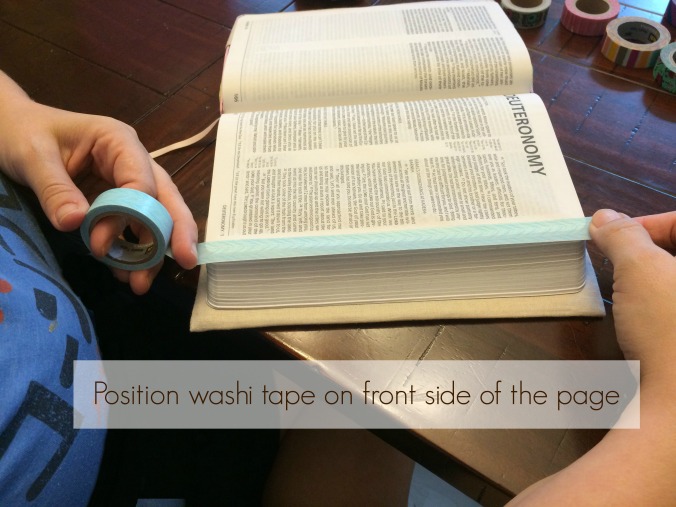
Unroll some washi tape and carefully position it along the outer edge of the book’s title page. Aim to adhere approximately 1/2 of the tape’s width to this page, leaving the other half overhanging the free edge and allowing the tape to extend just past the corners of the page. (We’ll round them up later)
One of the great things about working with washi tape is that it is reposition-able (but be careful with those thin Bible pages because they can still tear!) Once you are satisfied with the positioning of your tape, run your index finger along the strip to press out any wrinkles/remove air bubbles. Either tear or cut the strip of tape away from the roll and put the roll aside.
 STEP THREE:
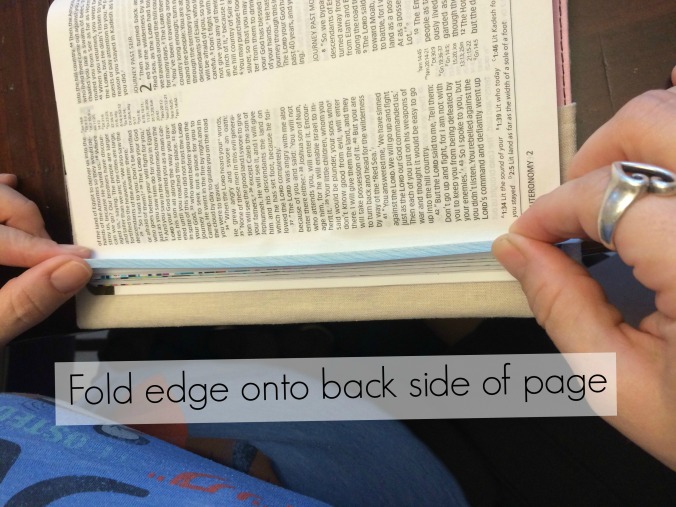
Gently(so as not to wrinkle the exposed tape), turn the page so that the back side of the book’s title page is facing up. Carefully, fold the overhanging adhesive side of the exposed tape upward (toward the paper), but do not press it down yet.
 STEP FOUR:
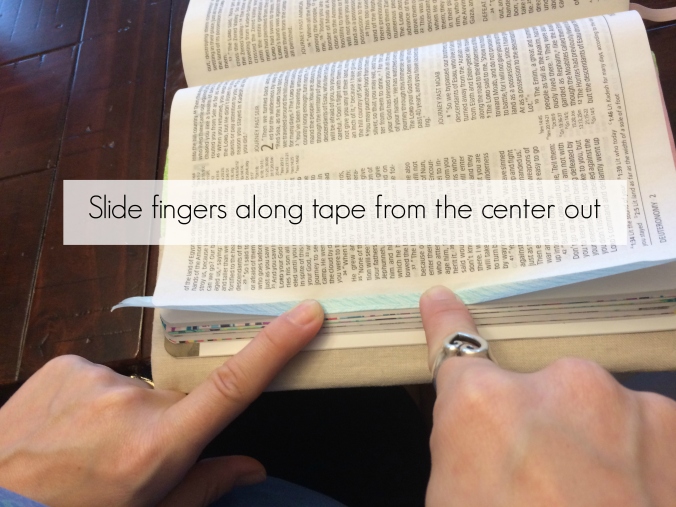
Press one index finger down on the folded tape at about the halfway point of the strip (adhering it to the page). Then, slide both index fingers from the center of the strip out, smoothly adhering tape. Be careful to keep the fold aligned with the page’s edge. (Again, the tape is reposition-able, but work carefully to avoid tearing the Bible’s fragile pages.)
STEP FIVE:
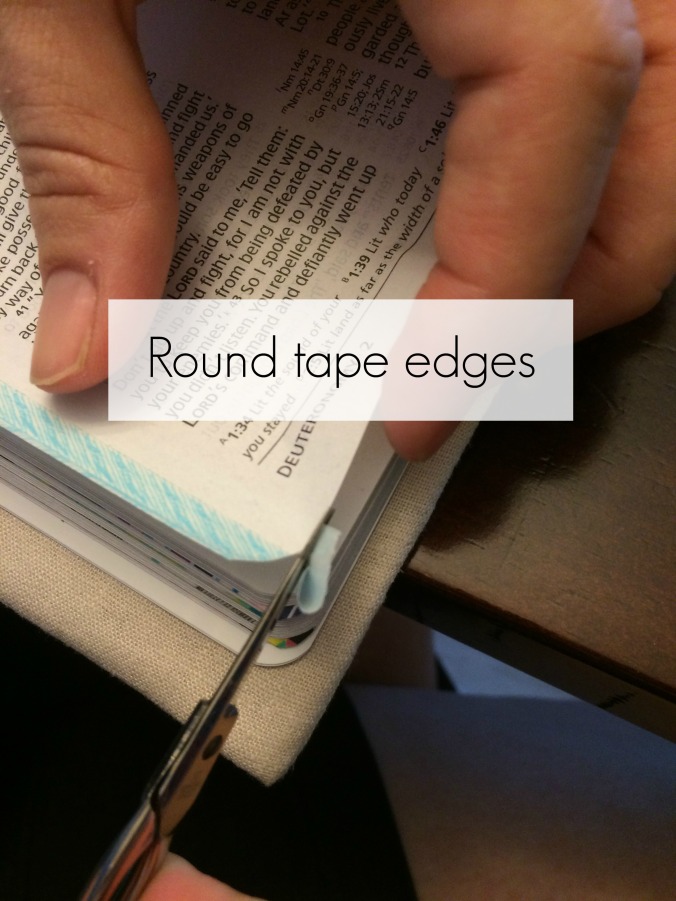
You’re almost there! Using a small pair of scissors, round off the overhanging edges of the tape at both corners. (This doesn’t have to be precise, just try your best and it will look fine)
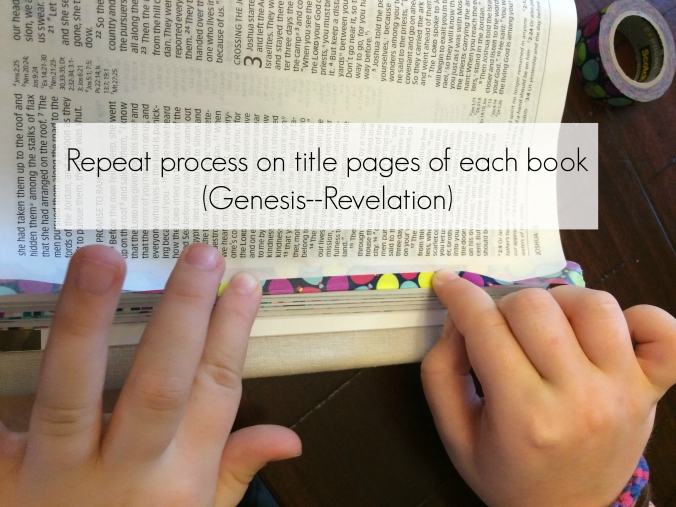
Repeat these five steps for the first page of each book of the Bible. One word of caution: this is a time-consuming process that is best not to rush. (We’ve taped three Bibles so far, and average about 2.5 hours to do each one) Recruit additional hands to help, if needed. In fact, the job is actually easier with two pairs of hands, so it’s also a great opportunity to spend some time with someone, bonding over God’s Word (literally)! No extra hands on deck to help with your project? Spread the project out over time. It’s extremely easy to walk away from and return to later. You could even tape books one by one, to mark them as you study them, over time.
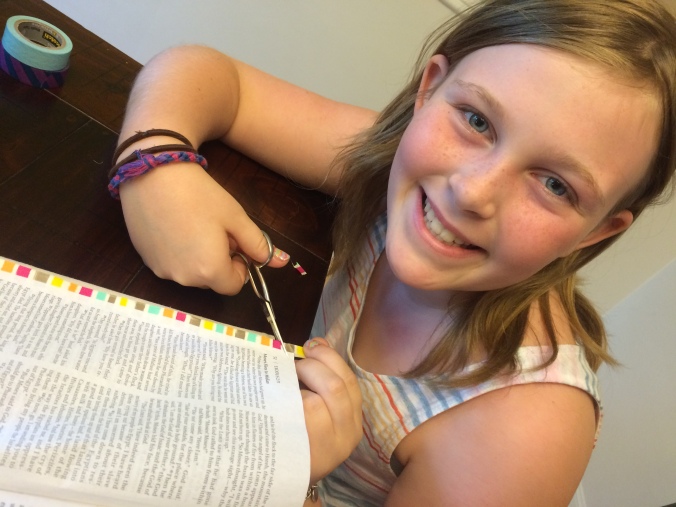
This project is a great way to review the books of the Bible with your older kids. When working with my daughter, as we would finish one page, I’d ask, “What book are we looking for next?” And she would tell me before going on. Naming the upcoming book also helped us to be sure we weren’t accidentally skipping over any books along the way!
It may be a tedious project…but the end result is pretty fabulous! I’ve had my Bible taped for over six months, and it still makes me a little giddy each time I pull it out!
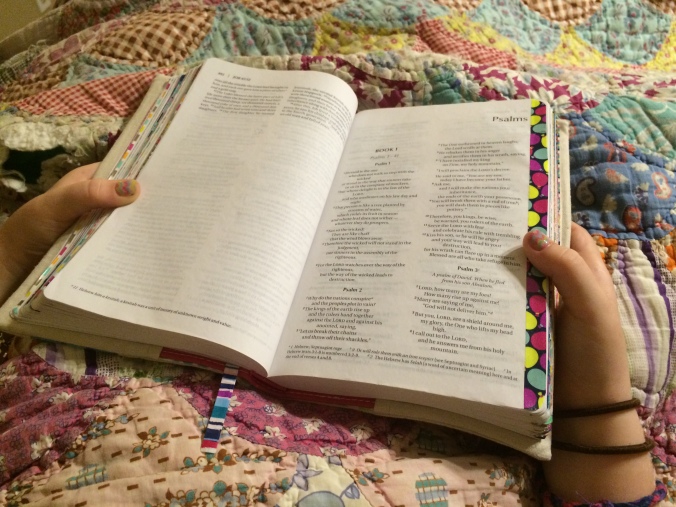
As an added bonus, working through this project with my daughter has helped to spark an interest in her own daily, personal study time. After taping her pages, she felt empowered to continue making her Bible “her own” with margin notes, color-coding, and art. I love watching her fall in love with God’s Word, and making it more personal to her through her unique approach to study.
I’d love to see photos of your projects in the comments below!
